Now I know Halloween was on Wednesday but I saw this recipe the other day and I couldn't resist making it! The brilliant thing about this cake is that the messier the presentation the better, it takes a little bit of the pressure off this time round.
Ingredients
The Cake:
250g/9oz butter
250g/9oz caster sugar
4 free-range eggs
1 tsp vanilla extract
200g/7oz self-raising flour
50g/2oz cocoa powder
Ginger Biscuit Tombstones:
350g plain flour
½ tsp ground ginger
1 tsp bicarbonate of soda
100g/3½oz butter
175g/6oz light soft brown sugar
4 tbsp golden syrup
1 free-range egg
For the decoration:
White icing (such as royal icing.)
125g/4½oz butter, softened
250g/9oz icing sugar
2 tbsp cocoa powder
1 tbsp milk
½ pack Oreo cookies or bourbon biscuits
1 pack chocolate sticks (such as Matchmakers or Fingers)


Method
1. Preheat the oven to 180C/350F/Gas 4.
2. Grease and line a 20x30cm/8x12in rectangular cake tin with baking parchment.
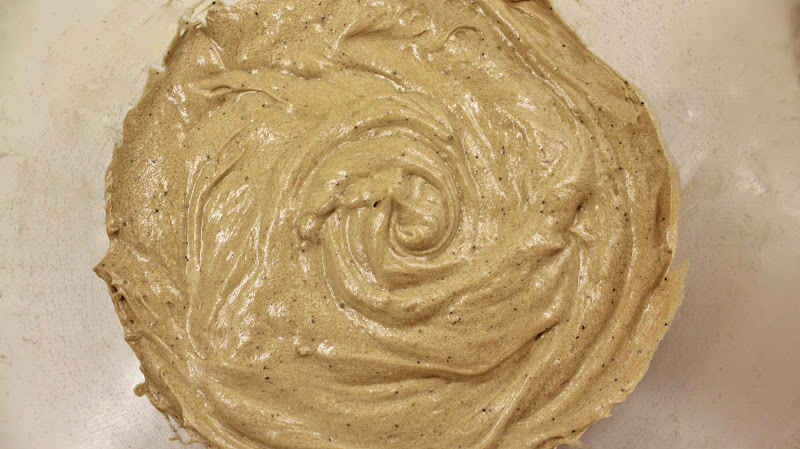
3. Beat together the butter and sugar with a hand-held mixer until the mixture is pale and fluffy. Add the eggs a little at a time, beating well between each addition, adding the vanilla extract with the last of the egg.
4. Sift together the flour and the cocoa powder into a bowl. Fold the flour mixture into the butter mixture until fully incorporated.
5. Spoon the cake batter into the prepared tin and smooth the surface with the back of a spoon.
6. Bake for 30 minutes until firm to the touch (a wooden skewer inserted in the centre should come out clean).
7. Leave to cool for 10 minutes in the tin before turning out onto a wire rack to cool completely.
8. For the ginger biscuit tombstones, place the flour, ginger and bicarbonate of soda into a mixing bowl. Rub the butter in with your fingertips until the mixture resembles fine breadcrumbs.
9. Add the sugar, syrup and egg and mix together until it forms a soft dough. Wrap in cling film and chill in the fridge for 30 minutes.
10. Roll out the dough on a lightly floured surface and cut out your shapes – you will only need a few for the cake so cut out some other Halloween shapes for extra biscuits.
11. Place the shapes on to greased baking sheets and bake in the oven for 10-12 minutes. Remove from the sheets with a palette knife and place onto a wire rack to cool completely before decorating with white icing.
12. For the buttercream, beat the butter in a large bowl with a hand held mixer until creamy then add the icing sugar a spoonful at a time beating well between each addition. Add the cocoa powder and milk and beat again for a further five minutes until light and fluffy.
13. Blend the Oreo or bourbon biscuits to fine crumbs in a food processor.
14. Spread the buttercream over the cooled cake, covering the top and sides don’t worry if it’s not smooth, a few lumps and bumps will make it more mud-like.
15. Break the chocolate sticks in half unevenly, then stick around the sides of the cake to form the fence.
16. Sprinkle the biscuit soil over the surface before sticking in the tombstones.


I really enjoyed making this cake and I think it would be the perfect thing to make with children. I hope you don't mind two Halloween related posts. If you would like me to bake anything specifically please leave me a comment below.
Chloe xo